Solid Color & Gloss
spectro2guide
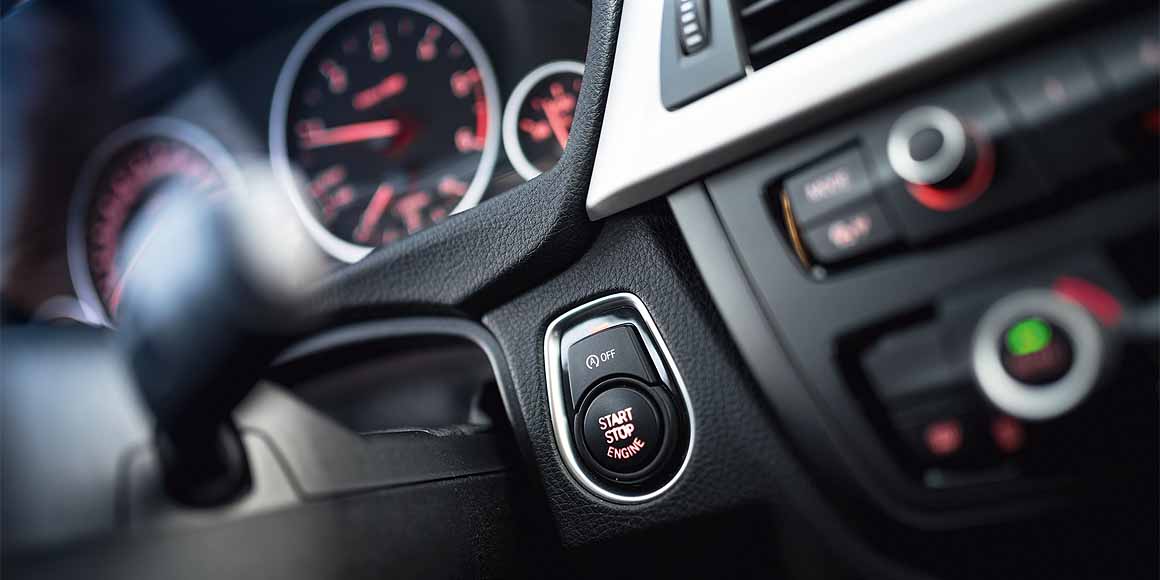
How many hours do you spend in your car? Most likely you will say “many”. Therefore, the interior design needs to reflect a comfortable ambience. Color and grain of the different components need to be harmonized. At the same time, low gloss is required to avoid any reflections in the windshield disturbing the driver. In order to achieve these goals, the variety of materials is the big challenge for every car manufacturer.
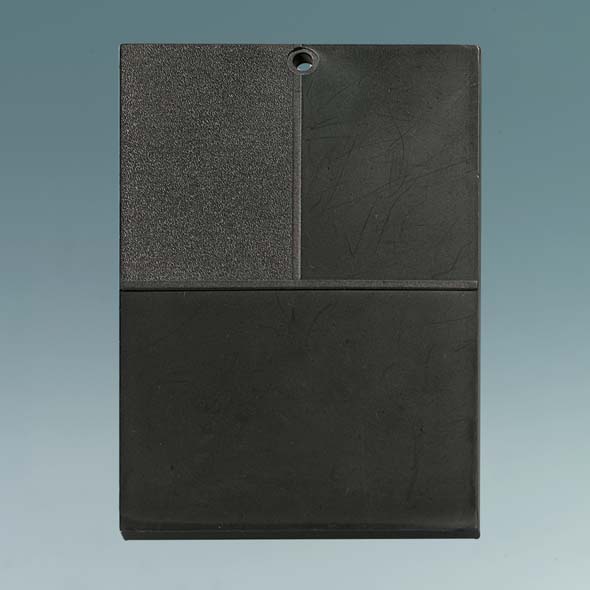
The design group specifies color, gloss and grain. Once a new color or material or process is approved, a new “style” is born – ready for implementation. At this point, the supplier quality group takes ownership and starts working with various part suppliers. Master standard plaques are developed with usually a flat and several grained areas. These are sent to the suppliers as their targets. The majority of interior colors are achromatic where our eyes notice even smallest differences. Therefore, the tolerances need to be very tight to guarantee a uniform look.
Typical color tolerances
Color: ΔL*, Δa*, Δb* = +/- 0.5
Innovative technologies are needed to guarantee objective and reliable measurement data within these tight tolerances. Only testing instruments with excellent precision will be able to guarantee consistent color.
The spectro-guide S guarantees superior accuracy and excellent inter-instrument agreement due to innovative LED technology. It is unique as it measures both, color and gloss by the push of a button. Moreover, the spectro-guide S offers improved technical performance for 60° gloss in the low gloss range 0 - 10 GU.
The automotive maker needs to define the measurement geometry to be used. There are two types of instruments: 45/0 and sphere geometry
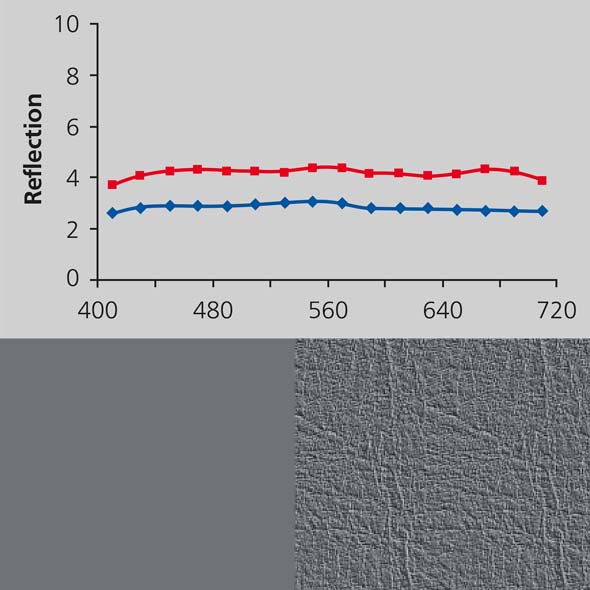
The 45/0 geometry uses 45° circumferential illumination and 0° viewing perpendicular to the sample plane. A high gloss sample with the same pigmentation is visually judged darker by the eye when compared to a matte or structured sample. This is exactly what a 45/0 instrument measures:
Differences in gloss/texture → Color differences
Example: automotive interior plaque Difference between two grains: ΔE* = 3
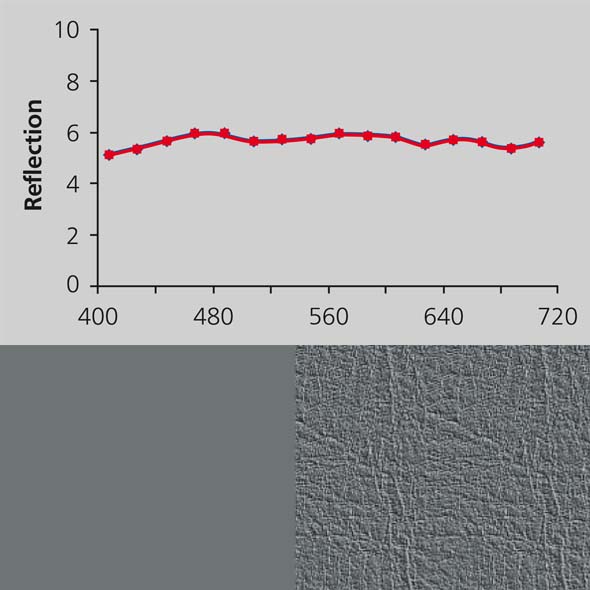
A sphere geometry illuminates the sample diffusely by means of a white coated integrating sphere. Color is measured independent of the sample’s gloss or surface texture.
Differences in gloss/texture → Color differences
Example: automotive interior plaque Difference between two grains: ΔE* = 0
In order to avoid any disturbing reflection in the windshield a matte surface finish is essential. Additionally, a matt surface implies a more luxurious feeling. The challenge is to achieve low gloss appearances using different materials with different grains. The smallest gloss variations of a matte surface will be immediately recognized. Thus, very tight tolerances for gloss are needed.
Typical gloss tolerances 60° Gloss: < 5 GU +/- 0.3 to 0.5
Instead of working with absolute gloss numbers the supplier production QC needs to be based on the signed-off part and only the differences should be checked. This procedure eliminates the reproducibility error – the gloss is measured relatively on the same type of material and same surface. Therefore, a difference of 0.3 gloss units from part to part can be considered as a significant difference.
In order to control gloss within very tight tolerances excellent technical performance is needed. The micro-gloss S was especially designed for matte finishes with small tolerances: The technical performance for 60° gloss in the low gloss range (0-10 GU) was improved to guarantee a repeatability of +/- 0.1 and interinstrument agreement of +/- 0.2.
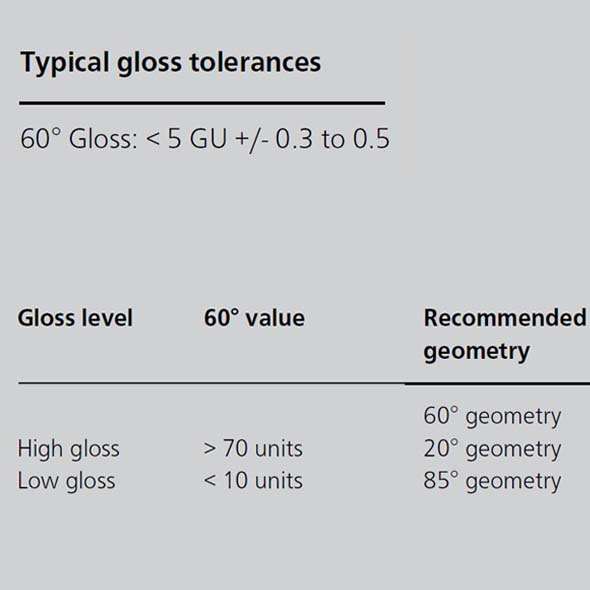
International standards provide different angles of incident for gloss measurement, namely 20°, 60°, and 85°. The choice of geometry depends on whether one is making a general evaluation of gloss, comparing high gloss finishes or evaluating low gloss specimens for sheen. The 60° geometry is used for comparing most specimens and for determining when the 20° or 85° geometry may be more applicable. The 85° geometry is used for comparing specimens for sheen or near grazing shininess. International standards recommend to use the 85° geometry for specimens with a 60° gloss value lower than 10.
With this explanation in view, one might wonder: Why is the 60° geometry still specified by car manufacturer to evaluate gloss of matte surfaces? There are two main reasons. First of all the 85° measurement area (5 x 38 mm/0.2 x 1.5 in) is often too large for evaluating small and curved parts. Secondly, there are many grains with deep and large valleys which at a certain depth would trap light illuminated at a low gloss angle.
High temperatures can cause polymers, textiles and natural materials used in automotive interior to outgas volatile and semi-volatile organic compounds (VOC and SVOC). The term “Fogging” refers to the film that collects on the inside of vehicle window glass. Of particular interest is the windshield, as fogging is potentially creating a visibility and safety problem for the driver. Therefore, the fogging test has become an important means for automotive manufacturers as well as their part suppliers to control product quality.
International standards outline three methods for determining the fogging characteristics of interior materials: the reflectometric method, the gravimetric method and the haze method.
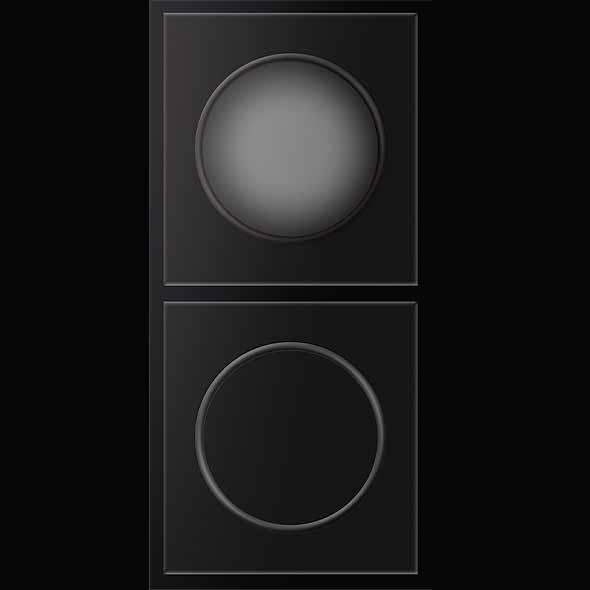
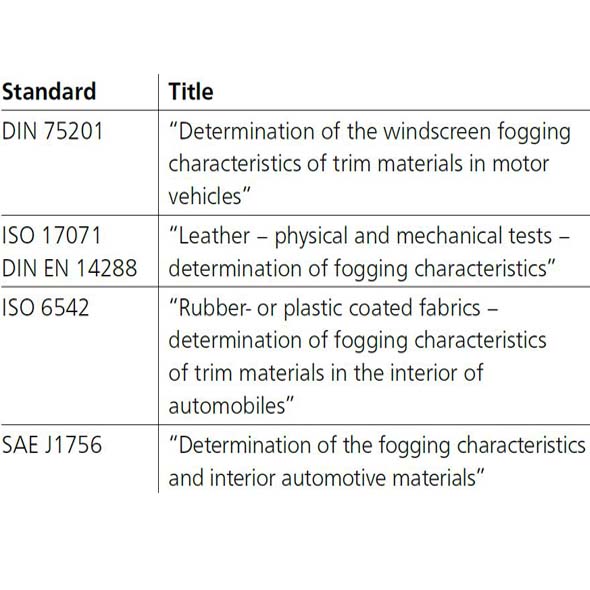
According to the reflectometric method, a prepared sample is placed in a beaker that is then covered with a glass plate. The plate's specular reflectance is measured and recorded using a 60° gloss meter. For a period the sample is heated, while the glass plate is cooled. The heat causes the sample to release gasses that condense on the cooled glass plate creating a “Fog”. The 60° specular gloss of the fogged glass is measured.
The haze method uses the same process as the reflectometric method, but instead of gloss, the transmission haze is measured. The haze-gard i measures the light transmission through the glass plate both before and after the fogging process.